Metal Injection Molding Feedstock: Moisture, Rheology and the Storage-Drying Discipline
Metal injection molding (MIM) and ceramic injection molding (CIM) sell a tidy promise: shape a part like plastic, deliver performance like metal. The material that carries that promise — feedstock, a blend of fine powder and thermoplastic binder — is expensive, batch-critical, and quietly moisture-sensitive in a way that surprises teams who have handled injection molding resins for years.
The common failure story goes like this: a molding defect or a blistered sintered part gets blamed on the “process window,” the molding parameters get tuned, and the same defect returns next month. Nobody asks what happened to the feedstock between the sealed bag it arrived in and the hopper — and quite often the answer is moisture, absorbed during weeks of warehouse storage or mishandled drying.
This article covers what water actually does to feedstock, why nitrogen storage beats “just keep it dry,” how to dry without damaging the binder, and a six-step storage-to-molding discipline. Numbers below are indicative assumptions — always defer to your feedstock supplier’s technical data sheet.
What Feedstock Is — and Where the Water Hides
A typical MIM feedstock is 80–90% by weight of very fine metal powder — 316L and 17-4PH stainless steels, tool steels, titanium alloys or tungsten heavy alloys — held together by a multi-component binder, usually paraffin wax, polymers and surfactants. CIM feedstock does the same with alumina, zirconia or other ceramics. The blend is pelletized into granules or pressed into pucks, sealed, and shipped.
Water reaches this material through two doors. The first is the powder surface: particles in the 1–20 micrometer range have an enormous specific surface area, and metal and oxide surfaces adsorb molecular water layers almost immediately on exposure to air. The second is the binder itself: wax-polymer systems absorb less water than engineering resins, but they are not zero, and binders with polar additives absorb measurably more.
Because the moisture sits on the surface rather than dissolved through the bulk, it is easy to underestimate. A bag can look, feel and pour exactly the same at 30% RH as at 20% RH — while the powder inside has quietly picked up a water load that will surface downstream as rheology drift and firing defects.
What Moisture Actually Does: Rheology, Blisters, Density
Moisture damage shows up in three stages, and the earlier stages are the ones that get misdiagnosed.
1. Rheology drift at the molding machine. Adsorbed water changes the viscosity and shear behavior of the feedstock. Depending on the binder chemistry it can act as a plasticizer (fill weight creeps up, flash appears) or as a disruptor of the binder-powder interaction (viscosity climbs, short-shots, part weight scatter widens). Teams chase these symptoms with barrel temperature and injection speed changes, which mask the symptom for a shift or two and then stop working.
2. Debinding and sintering defects. Water trapped in the part becomes steam as the furnace ramps. Steam escaping through a green part that is already losing its binder is the classic recipe for blisters, surface porosity and cracking. For reactive powders — titanium and its alloys above all — moisture exposure also means surface oxidation, which shifts the oxygen balance of the whole batch and changes how the part sinters.
3. Sintered property scatter. Parts from a moisture-exposed batch sinter to different densities and shrink differently, so dimensional scatter widens even when the tooling and furnace have not changed. In tolerance-critical parts that scatter turns up as a hard-gauge failure after sintering, when nothing can be adjusted anymore.
Industry practice often aims to keep feedstock moisture below roughly 0.1% by weight before molding (an indicative assumption — the real ceiling depends on the binder system, and POM-based catalytic systems have their own rules). The number matters less than the discipline: the goal is not to rescue wet feedstock, but to never let it get wet.
Storage: Why Nitrogen Rather Than Just “Dry”
The first line of defense is where feedstock lives between receiving and molding. A nitrogen cabinet held at low relative humidity — commonly 20% RH or below for feedstock and granulated powder (indicative) — does two jobs at once. At low RH, the adsorbed water layers on the powder surface desorb and stay off. And by continuously replacing the air inside with nitrogen, the cabinet also cuts oxygen exposure, which matters enormously for titanium, tantalum and tungsten-alloy powders whose surface oxides directly affect sintering.
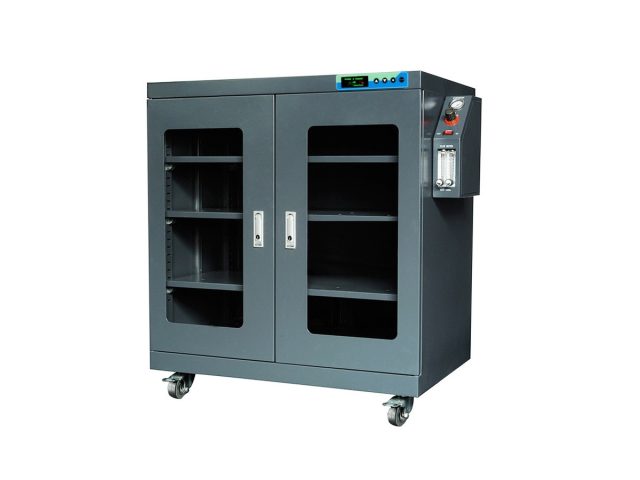
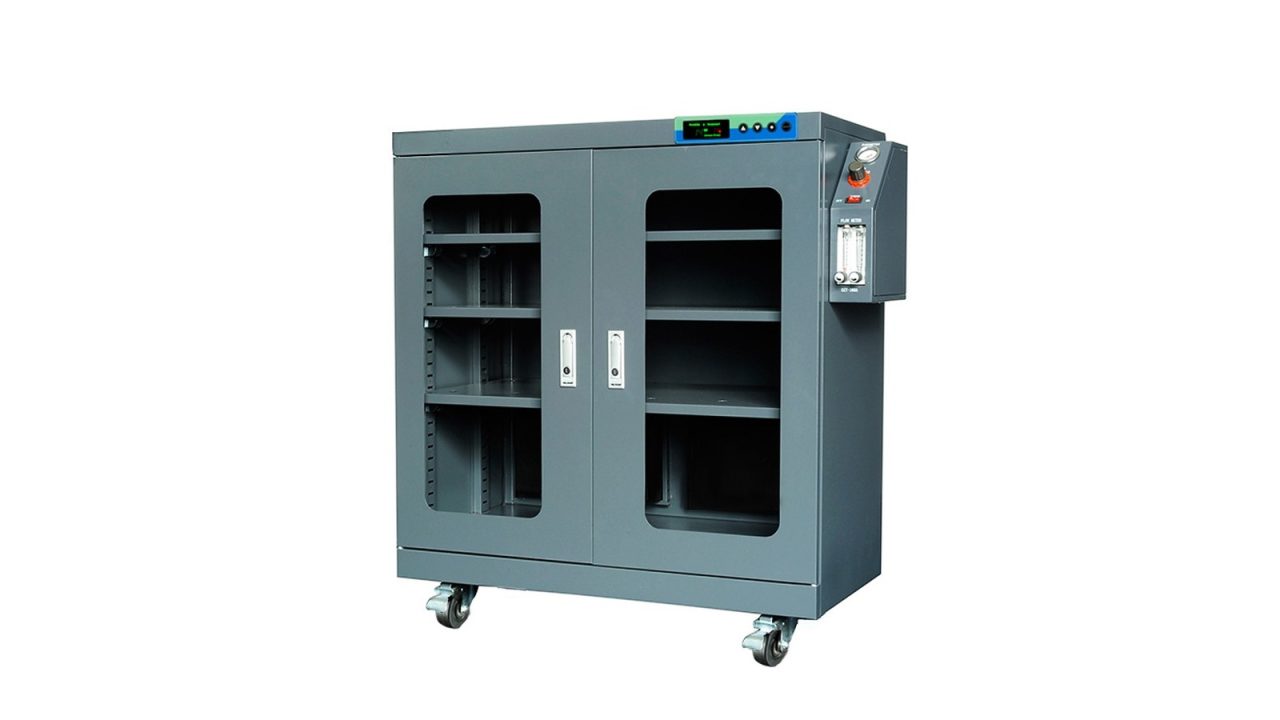
Sealed bags alone are not a substitute. Barrier films slow moisture transfer rather than stopping it, and the moment a bag is opened at the molding machine it starts exchanging air with the room. The practical pattern is a second barrier: opened bags and partially used granule boxes go back into a nitrogen cabinet such as the YSN-320 nitrogen cabinet, where the low-RH, low-oxygen environment holds the remaining inventory stable for as long as the batch takes to consume. For reactive alloy powders the same logic applies — this article on nitrogen storage for reactive alloy powders covers the overlap in detail.
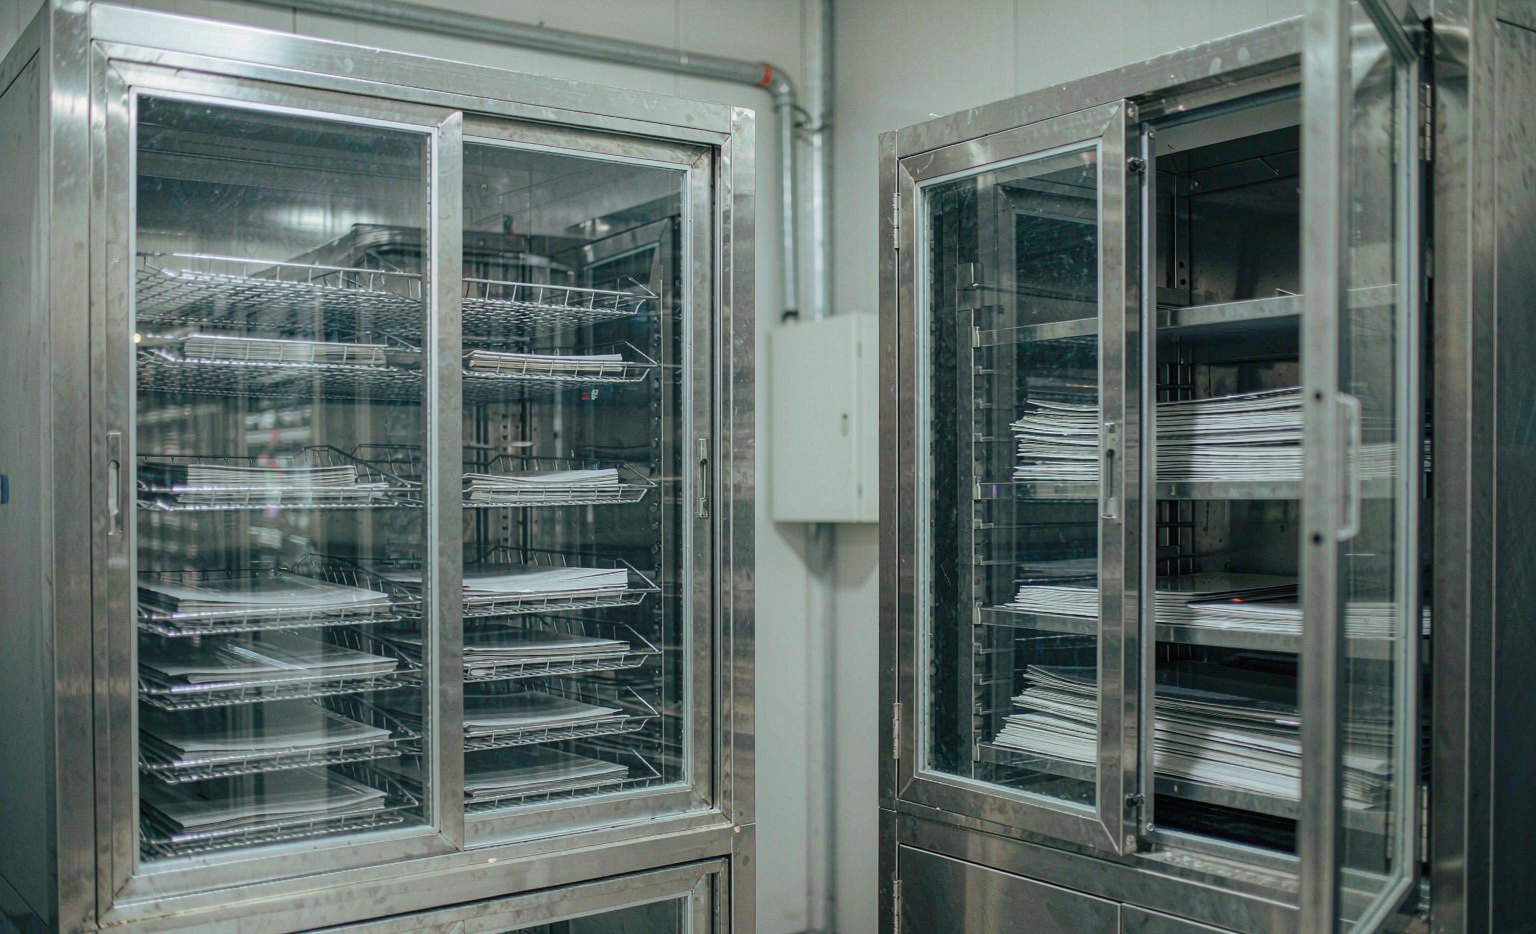
Storage discipline is worth as much as the equipment: log the date each bag was opened, rotate strictly first-in-first-out, and never let “temporarily in the room” become a shelf condition. A bag that spends three humid weekends on an open rack has quietly become a different material.
Drying Before Molding: Gentle Heat and Real Uniformity
Storage prevents moisture pickup; drying handles the moisture a batch has already collected — fresh feedstock straight from cold shipping, bags that sat in a humid receiving area, or granules recovered after a machine stoppage. Feedstock drying is deliberately unglamorous: low temperature, long enough time, and even heat. A common starting window is 40–60 °C for several hours, with the exact profile taken from the supplier’s data sheet (indicative).
The temperature ceiling exists for a reason. Feed it too much heat and the wax components soften, granules agglomerate into lumps, and in the worst case the binder begins to segregate from the powder — at which point the material can no longer be reworked at all. Accelerated oxidation is the second tax: every unnecessary degree is time the powder surface spends reacting with air.
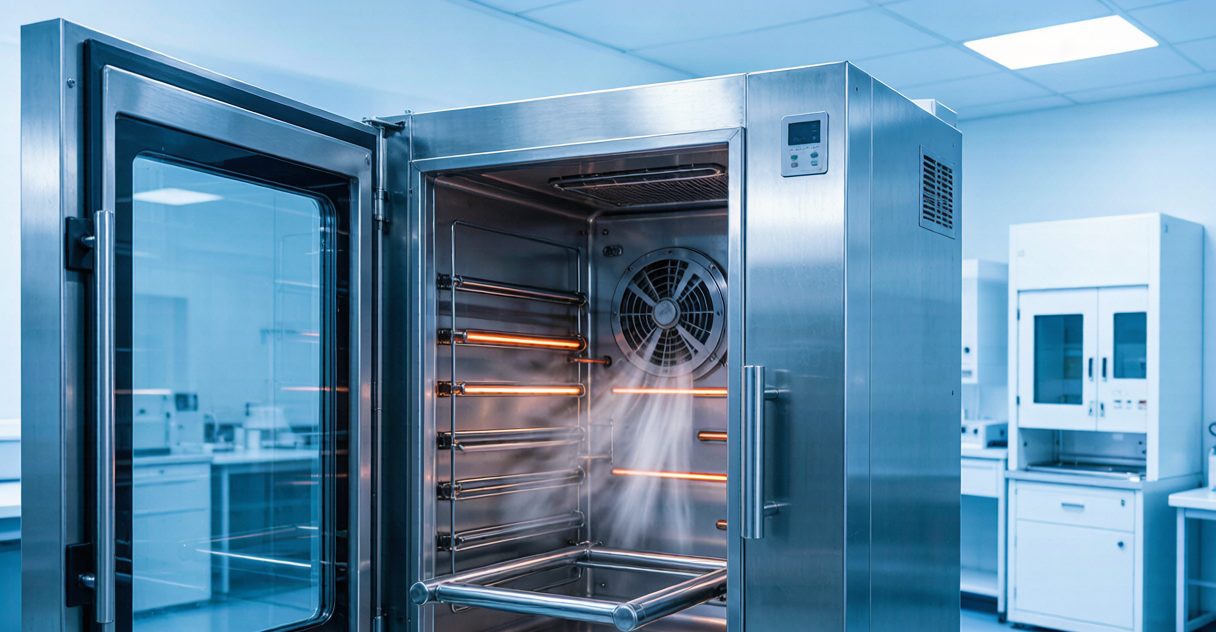
Uniformity is the spec that actually decides whether a drying run works. In an oven with weak circulation or large gradients, trays at the front dry while trays at the back merely warm up, and the batch leaves the oven with a moisture distribution nobody can see. An industrial oven with PID control and forced-air circulation — such as the YSHG-620A, with chamber uniformity of ≤±2 °C and ±1 °C optional — exists precisely to make tray position irrelevant. If you are weighing hot-air versus vacuum drying, the comparison in hot-air circulation versus vacuum oven drying is a useful starting point: granulated feedstock usually dries fine in forced air, while dense pucks benefit from vacuum.
Storage and Drying Side by Side
The two stations are complementary, not interchangeable. Storage holds a moisture equilibrium; drying actively removes a load. Swapping one for the other is the most common configuration mistake on a new MIM line.
| Aspect | Nitrogen cabinet storage (between uses) | Oven drying (before molding) |
|---|---|---|
| Objective | Hold feedstock at a stable low-moisture, low-oxygen equilibrium | Actively remove moisture already absorbed by the batch |
| Typical environment (indicative) | ≤20% RH, nitrogen atmosphere, ambient temperature | 40–60 °C per supplier TDS, several hours, forced air or vacuum |
| Equipment class | YSN series nitrogen cabinet with automatic RH and N₂ flow control | YSHG series industrial drying oven with PID control and ≤±2 °C uniformity |
| What it protects | Powder surface chemistry, binder rheology, oxygen-sensitive alloys (Ti, W, Ta) | Molding consistency, debind and sinter quality, blister-free surfaces |
| Failure if skipped or misapplied | Creeping moisture and oxidation pickup; batch-to-batch property drift | Residual moisture reaching the tool: blisters, cracks, weight scatter, sintered density loss |
A Six-Step Discipline from Receiving to the Hopper
Written as a work instruction, the whole storage-drying chain fits in six steps that a molding line can actually follow:
- Receiving check. Inspect bag seals on arrival, record batch number and date, and flag any packaging that arrived damaged or condensation-marked — those batches dry first and get priority use.
- Stage into the nitrogen cabinet. All feedstock, opened or sealed, lives in the YSN cabinet at the set RH (typically ≤20%, indicative). Sealed bags are not exempt — the cabinet is the second barrier.
- Rotate strictly FIFO. Every bag carries an open-date label; the oldest opened bag goes to the machine next. Partially used bags are resealed and returned to the cabinet the same shift.
- Condition-check before molding. For suspect batches, weigh a sample and run a loss-on-drying test on a moisture analyzer, recorded against the internal ceiling.
- Dry only when needed, and dry gently. Suspect or fresh-from-cold batches go through the YSHG oven at the TDS profile, spread in a single layer so air reaches every granule. Never improvise a hotter recipe to save an afternoon.
- Record and audit. Log every RH excursion, drying run and defect event against the batch number, and audit cabinet and oven performance quarterly — sensor drift and heater wear are silent until they are expensive.
Frequently Asked Questions
1. Can’t we just dry wet feedstock instead of storing it properly?
No — for two reasons. Drying removes water, but it cannot undo the surface oxidation that happened while the powder sat at high RH, which is the part that matters most for titanium and other reactive alloys. And every wet-dry-wet cycle the binder goes through risks segregation and agglomeration. Storage prevents; drying is the fallback, not the strategy.
2. What RH should feedstock be stored at?
Common practice is 20% RH or below for granulated MIM/CIM feedstock, with lower setpoints for reactive alloys (indicative). The nitrogen atmosphere is the second half of the answer: for oxidation-sensitive powders the oxygen reduction matters as much as the moisture number. A sizing note on matching a nitrogen supply to a cabinet is in PSA versus membrane nitrogen generator sizing.
3. The bags are factory-sealed. Is a cabinet really necessary?
Yes, as a second barrier. Barrier films reduce moisture transfer but do not stop it over weeks of humid storage, and the protection ends the moment a bag is opened at the machine. Sealed stock inside a low-RH cabinet ages slower; opened stock stays usable for its full batch life instead of becoming a countdown timer.
4. What temperature should feedstock be dried at?
Treat the supplier’s TDS as the only authority — a common starting window is 40–60 °C for several hours, but binder systems differ (all figures indicative). What your own equipment controls is uniformity: an oven holding every tray within ±2 °C turns a TDS number into a real, repeatable process instead of a lottery of tray positions.
5. How do we verify the discipline is working?
Three cheap checks: loss-on-drying spot checks on suspect batches; molded-part weight tracking, since weight scatter is the earliest visible symptom of rheology drift; and a periodic blister review at debinding. If weight scatter widens and no molding parameter changed, check the storage and drying records first — the answer is almost never in the injection profile.
Conclusion: Feedstock Is Too Expensive to Store Badly
MIM and CIM feedstock is one of the most expensive materials a shop consumes, and it degrades silently — no odor, no discoloration, no visible change until a sintered part blisters or a hard-gauge failure reveals weeks of accumulated moisture. The fix is not a bigger process window; it is two ordinary pieces of equipment used with discipline: a nitrogen cabinet that holds inventory at low RH and low oxygen between uses, and a uniform, PID-controlled drying oven that conditions suspect batches gently before they reach the tool. Set them up, write the six steps into your work instructions, and the “unexplained” defects will quietly stop recurring.
Planning storage and drying for a MIM or CIM line? Contact YanSyn for nitrogen cabinet and industrial oven recommendations sized to your feedstock throughput.