RH Uniformity Inside Dry Cabinets: Airflow, Loading Patterns and the Space Behind the Sensor
A dry cabinet is purchased on one number: the RH it displays. Procurement compares 1% against 5% against 10%, the order is signed, the cabinet is installed — and six months later a moisture-sensitive lot fails anyway, while the display has never left its setpoint. The question worth asking then is not “is the display wrong?” but “what is the RH at the shelf, behind the reels, at the back of the chamber?”
The uncomfortable answer is that a cabinet has one sensor and dozens of microclimates. How you load the shelves, where the return-air path runs, and how often doors open decide whether those microclimates stay within a couple of percent of the display or drift ten points away.
This article covers how air moves through a desiccant dry cabinet, the loading patterns that quietly break uniformity, how to map the space you really have, and what to do about door openings. The displayed RH is the start of the story, not the end.
Where the Moisture Actually Comes From
Inside a closed, correctly sealed cabinet there are only three meaningful moisture sources, and their proportions make every later decision easier:
- Door openings. Each opening exchanges chamber air with room air. A five-second swing can push chamber RH from 2% toward room conditions in seconds; recovery then takes minutes to tens of minutes (indicative assumption — it depends on module capacity and the opening profile).
- The load itself. Reels, trays, cardboard spool ends, paper labels and plastic totes are all hygroscopic to some degree. A cabinet that runs at 2% RH nearly empty may struggle to hold 5% RH packed full of freshly opened cardboard — the load releases exactly the moisture the module is trying to remove.
- Permeation and leakage. Door gaskets, cable ports and seams admit a small, continuous trickle. Good cabinets make this negligible; abused gaskets do not.
Notice what is not on the list: the module suddenly failing. Module degradation is real but slow and detectable. The daily enemy is simpler — moisture entering faster than the air loop removes it, concentrated where the load is densest.
How Air Moves Through a Dry Cabinet
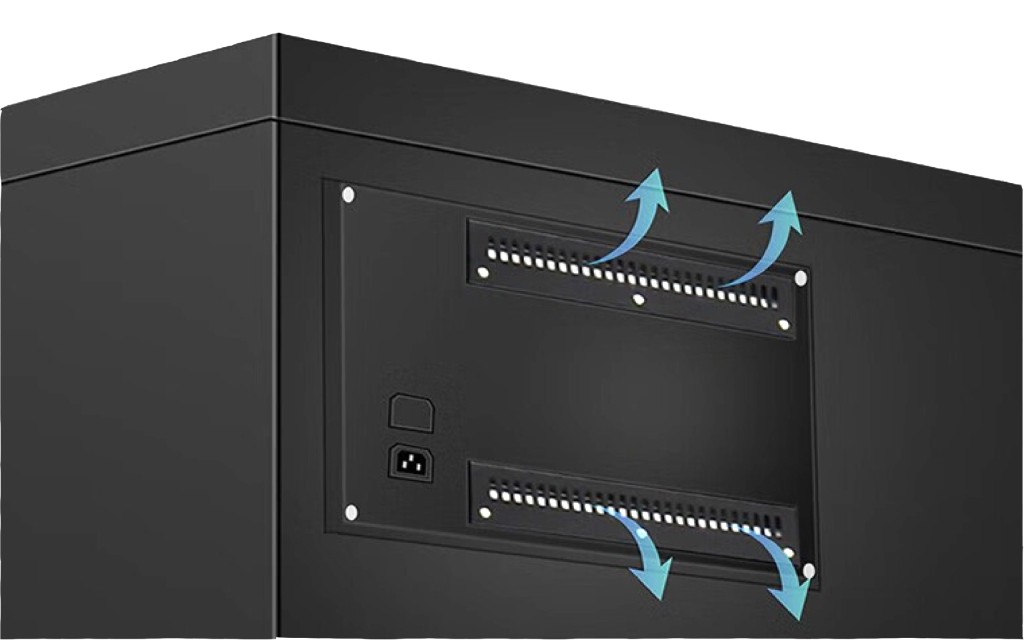
A desiccant dry cabinet is a loop, not a box. Air is drawn into the dehumidification module, where a rotating desiccant rotor (or thermoelectric elements, depending on architecture) strips water vapor; the dried air returns to the chamber along one wall or a rear plenum, flows across the shelves, and goes back to the module inlet. We compared the two architectures in our article on Peltier versus desiccant rotor technology; the loading physics below apply to both.
The loop has consequences datasheets rarely spell out:
- Dried air enters at specific points. Shelves nearest the supply path see the driest, fastest air; corners and dead-end pockets see whatever drifts to them.
- Air takes the path of least resistance. A shelf packed solid with reels blocks the horizontal flow, so air bypasses it entirely — the middle of the pack can sit in stagnant, progressively wetter air while the display reads 2%.
- The sensor is one point in this field. It sits where the manufacturer expects representative airflow. Surround it with a solid wall of inventory and it samples a privileged microclimate that no longer represents the chamber.
None of this is a design flaw — it is fluid dynamics doing what it does in every forced-air system, including industrial ovens. The difference is that oven teams map temperature routinely; dry cabinet teams often never map RH at all.
Loading Patterns That Break Uniformity
Most uniformity problems we see in the field are loading problems. The table below lists the recurring offenders, what they do to the air loop, and the fix.
| Loading pattern | Effect on airflow and RH | What it looks like later | Fix |
|---|---|---|---|
| Shelves packed edge-to-edge | Blocks horizontal flow; air bypasses the shelf; the pack interior stagnates | Parts in shelf centers show moisture symptoms first; display still reads setpoint | Leave 2–3 cm gaps between rows and a clear band along the supply side |
| Load against the rear/supply wall | Chokes the delivery path; dried air short-circuits to the return inlet | Slow recovery after openings; lower shelves stay humid | Keep a clearance zone (indicatively 5–10 cm) along supply and return paths |
| Cardboard and paper inside the cabinet | Hygroscopic load continuously releases moisture; module runs at high duty | RH creeps up over days and never settles | Unpack into ESD-safe trays or keep long-term stock in moisture-barrier bags |
| Items overhanging the sensor area | Sensor samples a sheltered microclimate instead of chamber air | Display looks stable while complaints come from elsewhere | Keep the sensor zone clear; verify with an independent logger |
| Heavy loading on one side only | Skews the flow field; the empty side becomes the main channel | Asymmetrical drying; the two halves behave like different units | Distribute mass across shelves; rebalance after reorganizations |
| Door held ajar during picking | Continuous air exchange; module duty never drops | Constant rotor activity, elevated power, slower recovery | Door discipline and batch picking; see the workflow below |
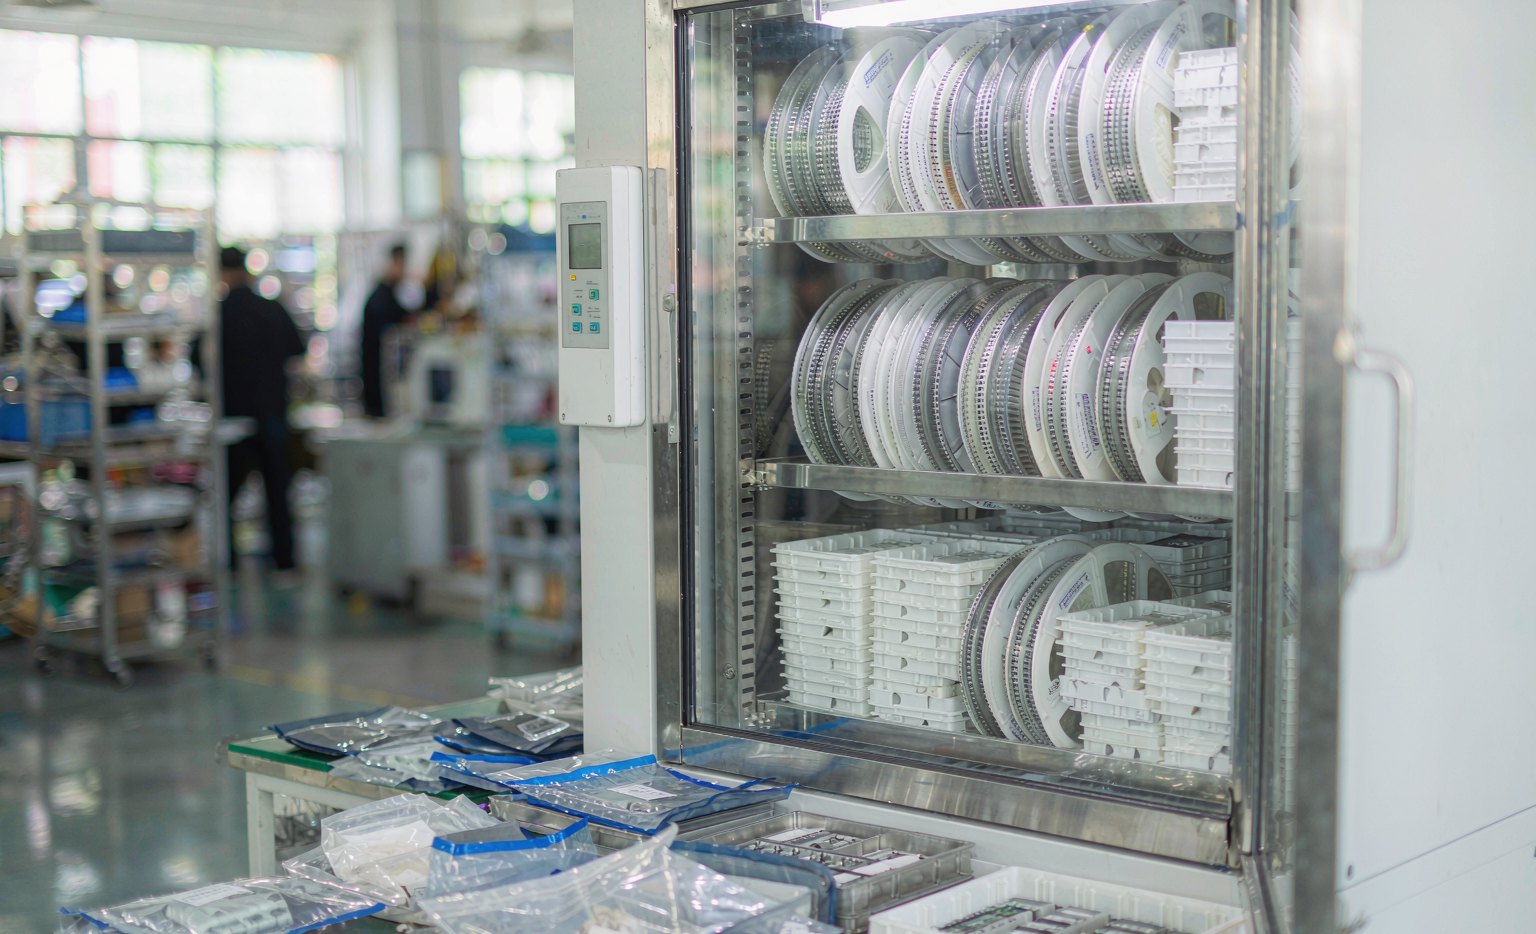
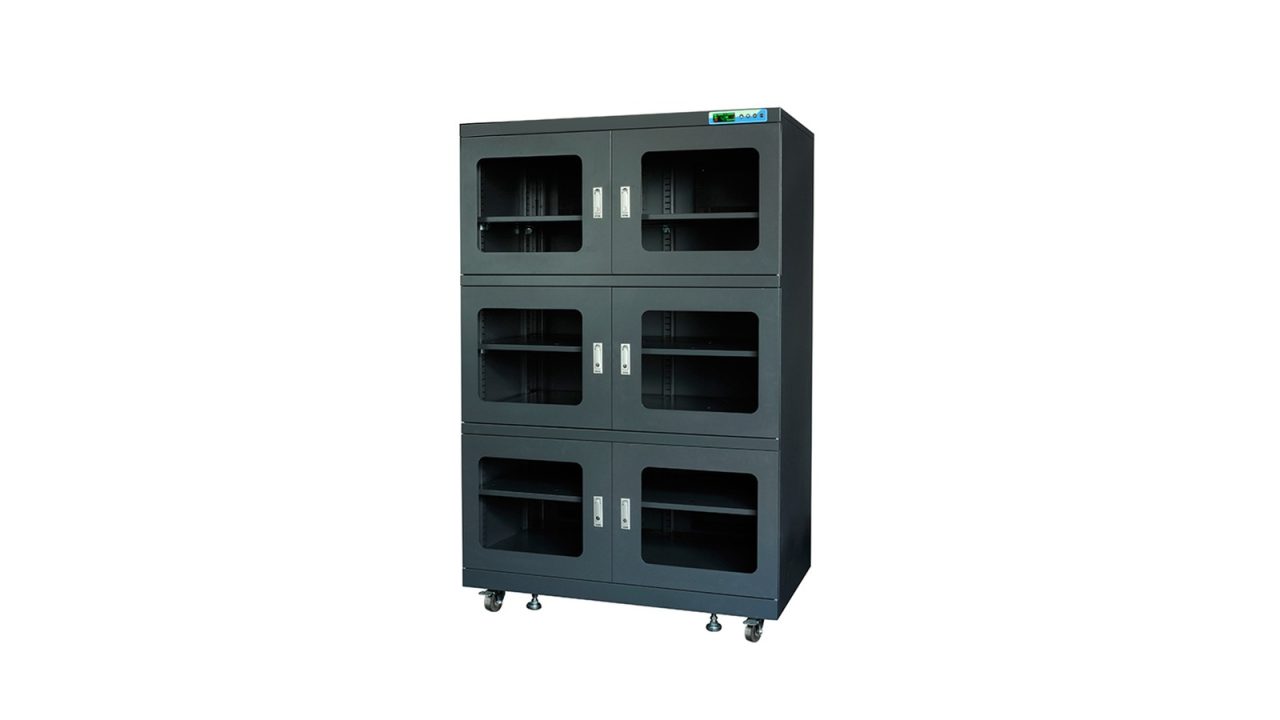
The photo above shows the target state: organized reels and trays, visible air channels, nothing choking the walls. It costs nothing but shelf discipline, and it is the highest-leverage improvement most stores can make — often worth more than upgrading the cabinet itself. A large unit such as the YSM 1430-6 has the airflow headroom for real production loads, but headroom is spent by loading habits, not by the model number.
Verify, Do Not Assume: A Five-Step RH Mapping Workflow
- Load the cabinet the way it actually runs. Mapping an empty cabinet tells you about the empty cabinet. Use your real mix of reels, trays and bags — or map both empty and 80% loaded to quantify the difference.
- Deploy 3–5 independent loggers. Top/bottom, front/back, and one deliberately buried in the densest shelf. Do not rely on the cabinet display; it is the subject under test, not the reference. Logger accuracy itself deserves skepticism — see our article on RH sensor accuracy, drift and calibration.
- Run 48–72 hours with normal door traffic. Include a worst-case picking session — several openings in quick succession — and log timestamps so spikes tie to events.
- Analyze against your own spec. The question is not whether any point exceeded 5% RH, but whether every point stayed below the level your most sensitive parts require, and how long excursions lasted. As an indicative assumption, many electronics stores treat sustained shelf readings above roughly 10% RH as an investigation trigger — set the threshold from your own classification, not folklore.
- Fix loading, re-map once. Open the air channels, move hygroscopic material out, clear the sensor zone. One re-mapping round confirms the fix and gives you a documented baseline for audits.
Total effort is two or three loggers for a week — trivially cheap compared with one popcorn incident traced to a stagnant shelf pocket.
Door Openings: The Variable You Control Daily
Even a perfectly loaded cabinet takes a hit every time the door opens. Three habits separate a controlled store from a leaky one:
- Batch your picks. One planned opening with a list beats ten opportunistic ones. Every avoided opening is recovery time the module never has to spend.
- Open fully, act fast, close fully. A door held ajar exchanges air continuously while feeling “quicker.” Deliberate, brief, complete openings are the better trade.
- Give wet newcomers a quarantine slot. Anything arriving from a humid room carries adsorbed surface moisture. Stage it near the supply path for an indicative equilibration period before merging it into dense long-term storage.
How the cabinet handles these events mechanically — recovery curves, module sizing, setpoint strategy — is covered step by step in our article on how a dry cabinet works, including RH recovery.
Setpoint Strategy When the Cabinet Is Real, Not Ideal
Once you know your cabinet’s real gradient, the setpoint choice becomes honest. If your worst shelf runs indicatively 3–5 points above the display under full load, a 5% RH display setpoint may leave the worst pocket marginal — while a 2–3% setpoint buys margin at negligible cost in a desiccant-rotor cabinet. The right number depends on your most sensitive stored item and your measured gradient, not the unit datasheet.
A cabinet such as the YSM 450 covers 1–60% RH by grade precisely so this decision stays yours. Two limits apply: ultra-low setpoints only matter for parts that actually benefit (sealed moisture-barrier-bag stock gains little from 1% RH), and below roughly 5% RH the ESD conversation starts.
Frequently Asked Questions
My cabinet reads 2% RH constantly. Does that guarantee every shelf is at 2%?
No. The display reads one point in the air loop. Under realistic loading, shelf-level RH can differ from the display by several points, especially in dense packs and far corners. A one-week logger mapping is the only way to know your own numbers.
How many loggers do I need for a mapping run?
For a single mid-size cabinet, 3–5 points is a sensible indicative starting set: top, bottom, back corner, and one inside your densest load. Larger walk-in installations deserve a grid, the way temperature mapping works for ovens.
Is it better to run the cabinet nearly empty for performance?
An empty cabinet is easy to dry, but that is not the condition that matters. Size the cabinet to your load with air channels in mind — a modestly loaded cabinet with open airflow paths outperforms an overloaded larger one, and buying capacity you never organize is wasted capital.
Does a nitrogen cabinet solve the uniformity problem?
It changes the physics, not the geometry. Nitrogen purge displaces moist air and controls oxygen too, but flow still follows the path of least resistance, and dense loading still creates pockets. The mapping workflow applies here too — with the oxygen side covered in our article on oxygen monitoring and sensor placement.
How often should we re-verify uniformity?
As an indicative assumption, one mapping at commissioning, one after any major reorganization, and a seasonal repeat once a year covers most stores. Add a round whenever a moisture-related defect investigation points toward storage.
Conclusion
The number on the display is a promise made by one point of air in the loop. Whether the whole cabinet keeps it depends on the loading patterns you choose every day: air channels left open, hygroscopic material kept out, the sensor zone clear, doors treated as events rather than habits. None of these costs money — they cost discipline, and they are verifiable in one week with a handful of loggers.
YanSyn builds YSM moisture-proof cabinets with the airflow headroom and uniformity you can verify — and we are happy to review your loading plan before you fill the shelves. If you are specifying a cabinet for a real production load, contact our team for a sizing discussion.